

I have collected food scraps and contributed to my county’s curbside food scrap collection program for a number of years, and I’ve also gardened on and off. When I was setting up my garden this year, I wanted to add in some compost to supplement the soil and looked to purchase some from our county’s composting program. Of course, it’s the year of covid, so the facility which normally sells bulk mulch and compost to the public was closed to customers.
Thinking that things would resolve soon, I waited and waited. Finally, it was nearing the end of the growing season, and I was starting to plan for next year with no compost. So, at the end of the summer, I decided to experiment with making my own compost bin.
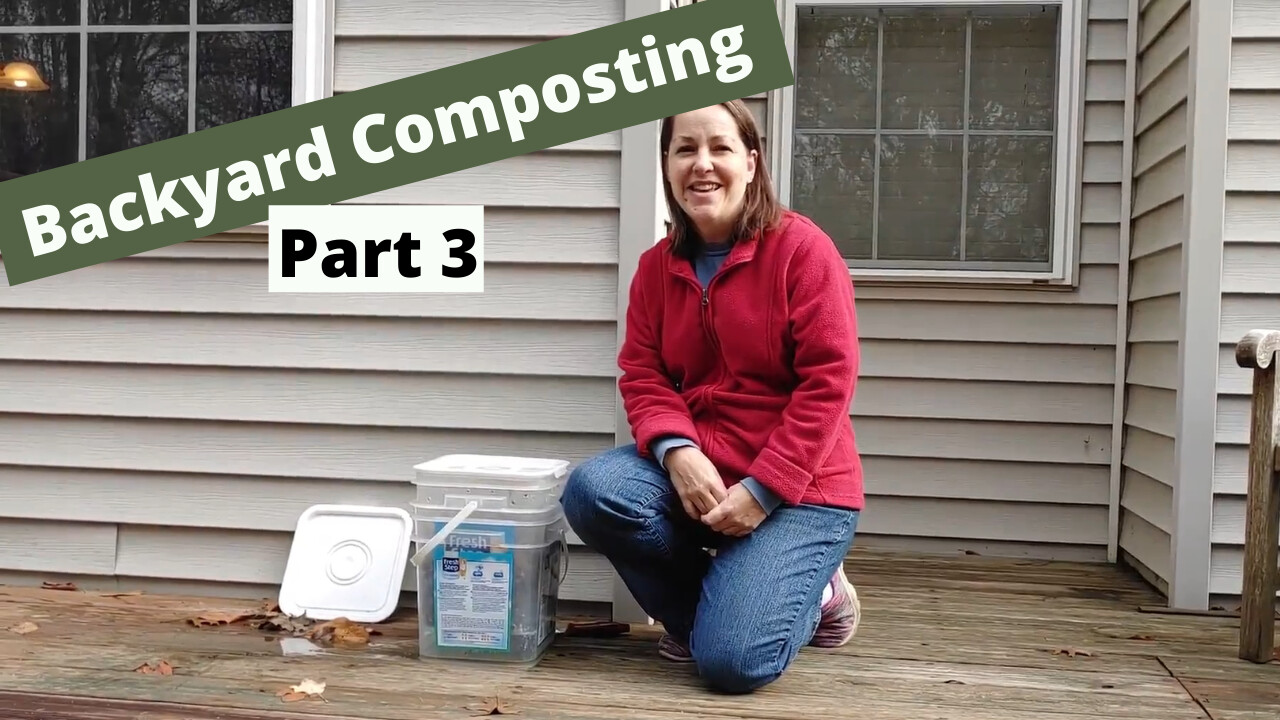
I watched a ton of videos to get a feel for what I needed to do and once I felt confident in trying it out, I set out to try my hand at creating some of that amazing nutrient rich garden material myself. I decided to try the bucket system as it seemed like the easiest and cheapest method for a newbie.
A lot of the videos I watched suggested going out and buying 2 plastic bins that would fit inside each other, but I didn’t like the thought of purchasing more plastic and wanted to find a different option. I recalled that cat litter often comes in plastic bins, so I put a call out to some friends to see if they had any empty buckets. I have one friend in particular who has multiple cats, and she was able to give me two empty bins with lids, so I was off to a good start.
One thing to know about me is that I am frugal. I don’t like spending money on things I’m not sure will work because if they don’t work, I view it as wasted money. Once I know something will work, I’m happy to spend the money, but initially? I want to invest as little as possible.
Free empty bins…check. Next up, prepping the bins based on what I saw in online videos. The key to bucket composting, I learned from the videos, is to have holes in the bucket for drainage and air. I’m pretty handy with a drill, so I made quick work of this part.
Once the bucket was prepped, I had to figure out the right ratio of “browns” to “greens” to put in my bin. There are lots of opinions out there about the ratio between browns and greens, and I admit I spent quite a bit of time studying this. You see, the greens are the fresh plant material and food scraps that you want to decompose. The greens are high in nitrogen. The browns are materials that are high in carbon like dried leaves, pine needles, twigs and dried paper. Once I was convinced of the correct ratio, I set out to build my bins and deposit my first materials. In parts 2 and 3, you’ll learn that this ratio is not all that critical.
Here’s the first video in my 3 part series that shows you my preparation steps, including drilling holes and what I put in the bin initially.
Interested in learning more about earth-friendly options? Join my free group here.
Get my free guide: 4 Ways Being Earth-Friendly Can Change Your Life for the Better HERE.


0 Comments