Growing up, when we needed to store leftovers in the fridge, we would throw on some plastic wrap or aluminum foil. Although I ditched the regular use of plastic wrap a long time ago because I knew it couldn’t be recycled, so not sustainable, I only recently stopped using aluminum foil. Why, you ask? I’ve been a believer in recycling and up until recently, aluminum foil was accepted in our recycling bin for curbside pickup. Whether or not it actually got recycled is a discussion for another day, but now that we’re not allowed to put it in, I was without an option.
So, on went the search for a more earth-friendly substitute. Now, don’t get me wrong, most of my leftover containers are glass and have their own lids, so it’s not very often that I use something else, but when I need something, I need it to work.
I first discovered beeswax wraps from a friend of mine who sent them to me as a gift. The pattern of the fabric was the ocean with turtles, so it suited me well. I used them a handful of times before they were lost. One got eaten by the dog (don’t worry, she’s fine) and the other two were washed with really hot water, so they lost their beeswax. Note to readers – be careful how hot you set the water or learn how to recoat the wraps because beeswax has a low melting point. And, by the way, for those not wanting to use animal products, there are some on the market that are certified vegan. For me, beeswax is fine, so these work for me. The ones I use can be found here: http://bit.ly/waxcoatedwraps
Check out my YouTube video here.
I liked using the wraps, but there were a couple of things I didn’t like. First, I don’t like that the wraps are square or rectangular in shape. I would rather wraps that are circular in shape as they would fit bowls better, which is what I typically use to store leftovers. As a quilter, I imagine the decision on shape is out of convenience as it’s much easier to cut squares and rectangles instead of circles. Using a square wrap on a round object results in extra fabric being folded up under the bowl. I know, small inconvenience, but I’m looking for a solution that works and that I like. The second thing I didn’t like is that the largest one was not large enough. One of the pans that I use rather frequently is for casseroles and it’s your typical 9”x13” pan. The beeswax wraps are not long enough to cover the edges of the pan.
Moving away from the beeswax wraps, I discovered stretch reusable lids that are made from silicone. Silicone comes from sand, so I find it appealing from a sustainability standpoint. The lids come in a set of different sizes to fit different sized dishes. They are transparent so that you can see inside the dish and circular in shape so they fit the bowls I’m looking to cover. They appear to be thick enough that I’m not concerned about tearing them. As an added bonus, they make a great noise (think drum) when you tap on them, so my teenage children are entertained. The ones I use can be found here: http://bit.ly/Siliconestretchlids The lids are hand wash and air dry. I’ve used mine for about 3 or 4 months so far and they are holding up quite well. The only negative I have to mention is that I need some that are larger in diameter. I wanted something to cover the pies I made for the holidays and none of the lids fit the pie plates.
I’d love to hear what your experiences are on using either the beeswax wraps or the silicone lids. Which one is your preference?
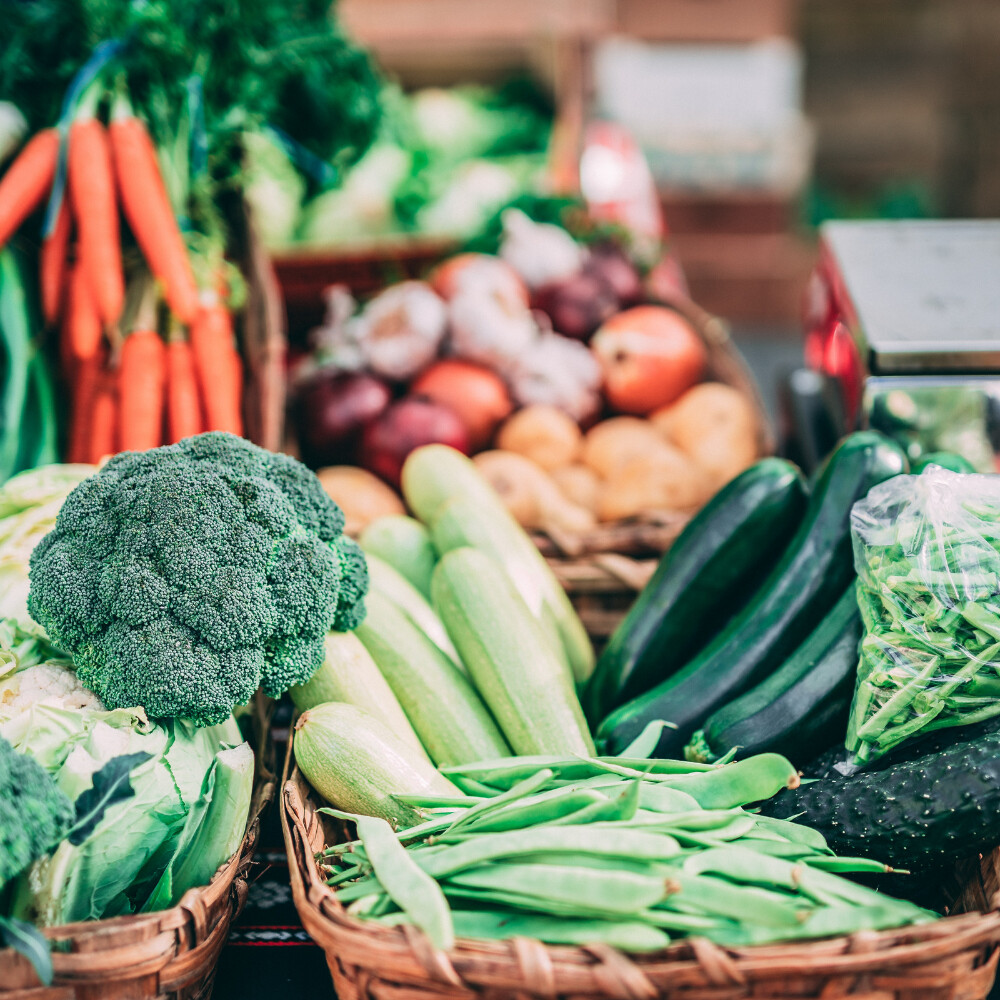
A great way to improve your earth-friendly lifestyle is by making a plan to reduce food waste within your home. Food waste is a huge problem around the world and in the US especially. It is estimated that, in the US, up to 50% of all produce is thrown away. The food that is thrown away ends up in the landfill, produces methane, and contributes to climate change. So, food waste is not only bad for us as Americans, it’s bad for the environment. The cost of this waste is estimated to be about $1500 per year for a family of 4.
Here are 3 simple ways to reduce food waste in your home.
1. Make a meal plan. Before you head to the grocery store, plan out your lunches and evening meals for a week and list out the ingredients that you will need for each meal. This will allow you to make fewer trips to the grocery store (save gas and energy) and save money not buying things you will not use. Fresh fruits and vegetables typically stay fresh for about a week, so planning out what you plan to cook in a week assures you will use up the fresh produce before it goes bad.
2. Buy only what you need for the plan. With your meal plan in hand, only purchase what you need for the meals for this week. But, be flexible. You can change your meal plan on the fly if there’s something on sale or it suddenly sounds better to you (boy, those fresh pineapples look great!), but replace a meal with the new idea rather than buying for an additional meal.
3. Freeze the surplus. If you end up purchasing more than you will use, freeze the extra before it goes bad. This is the case in our house during the summer when we’re members of a Community Supported Agriculture (CSA) farm. If I receive extras, I go ahead and freeze them ahead of time. This is true for the times when I see green beans on sale as well. If they’re in a bag, I just toss the whole thing in the freezer to eat later. The second most common item I end up freezing is bananas. For me, there’s a very short period between the perfect banana and the overripe one. Overripe bananas go into banana bread or the freezer if I don’t have time to bake at the moment. Make sure to remove the peels before you freeze them so that you can add them directly to your recipe. Strawberries, blueberries, peaches and other fruits can easily be frozen for use in smoothies, breads, etc.
Following these 3 simple, earth-friendly steps will not only reduce food waste which is good for the planet but will save you money in the long run and get you on a positive start for the year to come. Oh, and if you’re looking to step up your game to throw away less food, consider composting what you can’t use.

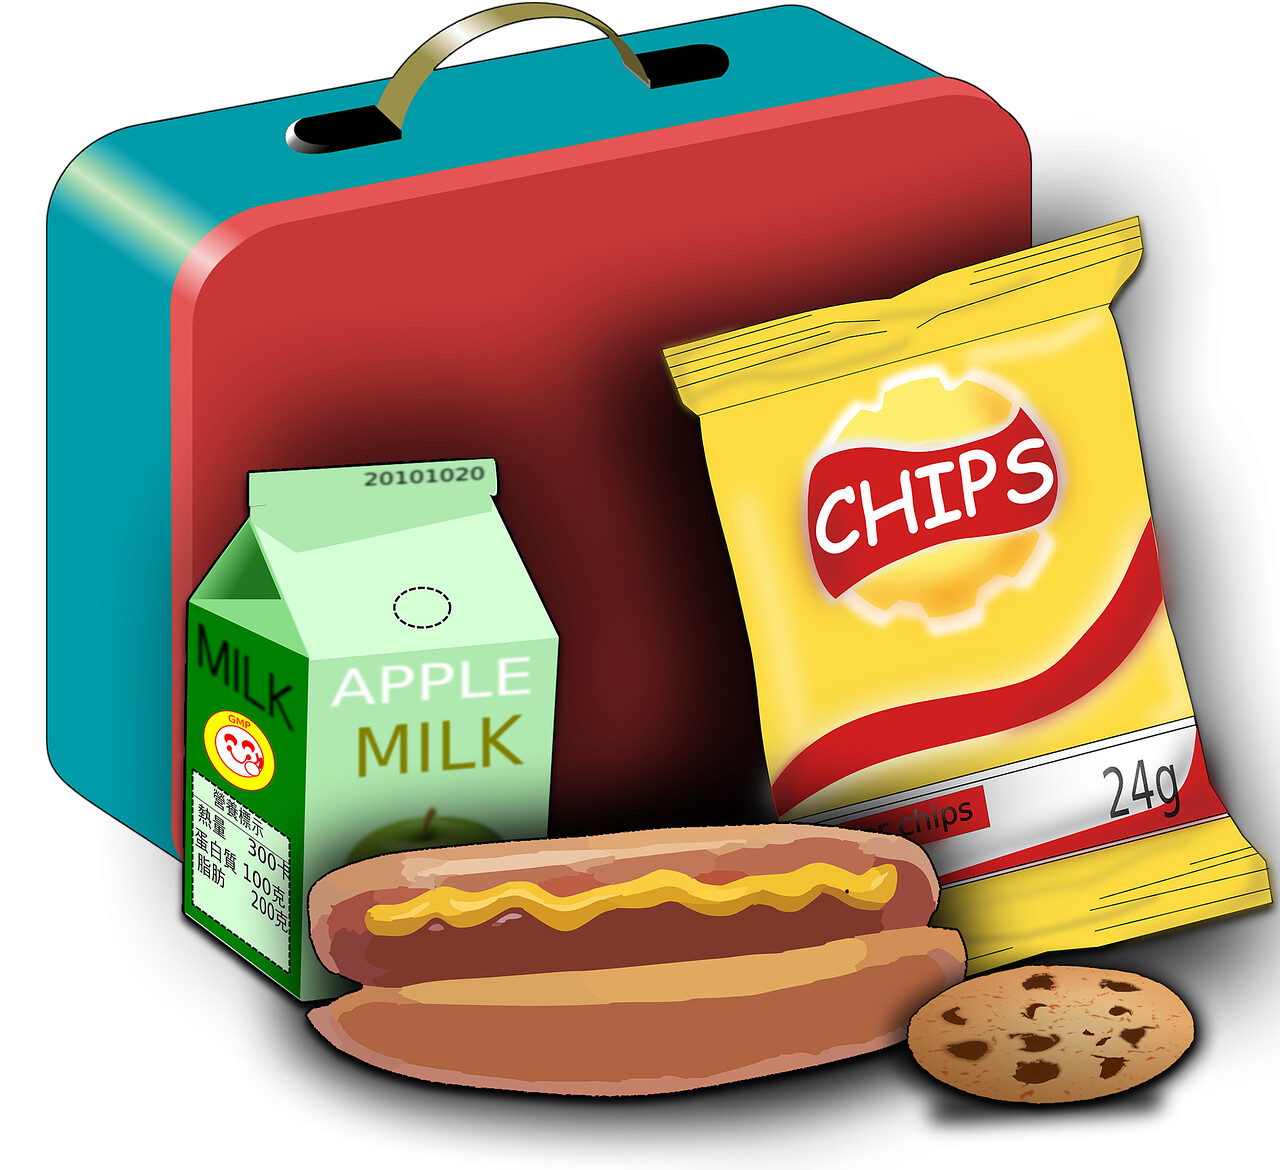
Product | Quantity | Total Cost | Cost per ounce |
Prepackaged Lay’s Chips | 40, 1 oz bags (40 oz) | $17.00 | $0.43 |
Cheetos | 4.5 (8.5 oz bags) = (38.25 oz) | $13.50 ($3 per bag x 4.5 bags) | $0.35 |
Lay’s Potato Chips | 3.5 (12.5 oz bags) = (43.75 oz) | $14.00 ($4 per bag x 3.4 bags) | $0.32 |


