
If you celebrate Christmas, one of the biggest activities is decorating a Christmas tree. Whether a tree is artificial or real is a personal choice, and there are most definitely pros and cons to both. Rather than debate the pros and cons of each from a general perspective, let’s examine the differences based on sustainability alone.
A real tree
Christmas tree farms exist around the country and the world. Trees are grown for years, watered, fertilized and trimmed; all in preparation for harvesting them over a 6-week period. During their growing phase, they provide habitat for local animals, emit lots of oxygen into the air and absorb carbon dioxide, all of which are quite positive.
During this same time, a Christmas tree farmer either irrigates or not and either uses pesticides or not, both of which can negatively impact the environment. Irrigation redirects water from other places in order to sustain the trees, and pesticides can contaminate local water supplies, harming plants and animals. So, although there are significant positives, there can be some negatives as well.
Now, it’s harvest time. Do the trees stay locally or are they shipped to other locations? The shipping of trees decreases the sustainability aspect as it requires a lot of gasoline to accomplish. Keeping the trees local and having customers come to the farm is advantageous from the transportation perspective, but still requires gasoline from individual families.
Many Christmas tree farmers establish their business with a keen eye on protecting the environment, so many are conscientious of how they are farming. They avoid using pesticides and minimize irrigation, so they are minimizing their environmental impacts and maximizing the benefits. To keep the farms going, they often plant 3-5 new trees for every tree that is harvested, so there is expansion in the number of trees over time. Purchasing a tree from a local farmer supports local agriculture which is always a good thing.
After the holidays, the question becomes: what do we do with the tree? In some areas, discarded Christmas trees are deposited straight into the landfill. This takes up valuable space and although the tree will decompose over time, filling up the landfills does not appear to be a good long-term idea. Sending it to a recycling center where it can be mulched and used on walking trails and in parks is a great alternative. This option works well in my area. In the end, the tree that came from the ground goes back into the ground, a full cycle system.
Another real tree alternative is to get one that can be planted after the holidays. People refer to this type of tree as a live tree. Prior planning and preparation are encouraged to make this endeavor successful. We all know that digging in the ground in January is challenging at best in colder climates, so planning ahead, digging a hole and filling it with leaves is a great way to ensure you have the ability to plant it in the middle of winter. This can be a great option for adding trees to your landscape.
An artificial tree
Artificial trees are made from plastics which are not environmentally friendly. That said, a well-made artificial tree can last for decades. Unfortunately, at some point, the artificial tree will need to be discarded, and the vast majority end up in the landfill.
Before you set the artificial tree out at the curb, think outside the box and look at ways to upcycle the components of the tree. You could make wreaths or other decorations with the components that are still in good shape before discarding the rest. That way, only part of it is being tossed in the landfill and the rest kept out for a longer period of time.
About 10 years ago, manufacturers thought it would be a great idea to incorporate lights on a tree so that families would not have to add their own. Unfortunately, when the lights no longer work, the tree becomes a nuisance. Removing the lights from the tree is a task best left to the uber patient, so what tends to happen is that people discard their tree once the lights no longer work which increases waste rather than decreases it.
When we purchased our artificial tree, 20 some years ago, I was under the impression that purchasing real trees was wasteful. At the time, we lived in a place that did not have a tree recycling program, so I only saw it getting added to the landfill. Finally, from a cost point of view, spending $100-$150 on a well-made artificial tree that could be used year after year was much less expensive than paying $50 (at a minimum) each year for a real tree.
Bottom line – from the sustainability standpoint, a real tree is the best option, ideally one that is grown locally and organically. Even if you can’t recycle it, it will eventually decompose in the landfill. Artificial trees are not sustainable because no matter how long you use it, it will still never decompose. If you already have an artificial tree, like me, just continue to use it until it falls apart, then see if you can upcycle parts of it before throwing the rest in the landfill. One of the keys to living an earth-friendly lifestyle is to use items for as long as possible and not to be so quick to discard them. Use everything that you purchase until it wears out, and even then, see if you can repurpose it for something else before casting it aside.
From a personal perspective, we all need to do what works for us and our family. As several of my readers pointed out, obtaining a real tree is labor intensive and as we age, we’re not all able to do this as easily as we once were. We simply need to do our best and be happy with
Interested in learning more about earth-friendly options? Join my free group here.
Get my free guide: 4 Ways Being Earth-Friendly Can Change Your Life for the Better HERE.
I have been fascinated by bees and honey for years. When I lived in Tennessee, I met a man who was from Poland. He told me that my maiden name meant shepherd or beekeeper. I took that as a sign to someday pursue working with bees.
I had the opportunity to attend a one-day workshop on beekeeping a couple of weeks ago and I was fascinated from beginning to end. At the end, I wanted more, so I asked where I could learn more and the presenters pointed me to their website and their 6 week class beginning in February. I’m already registered.
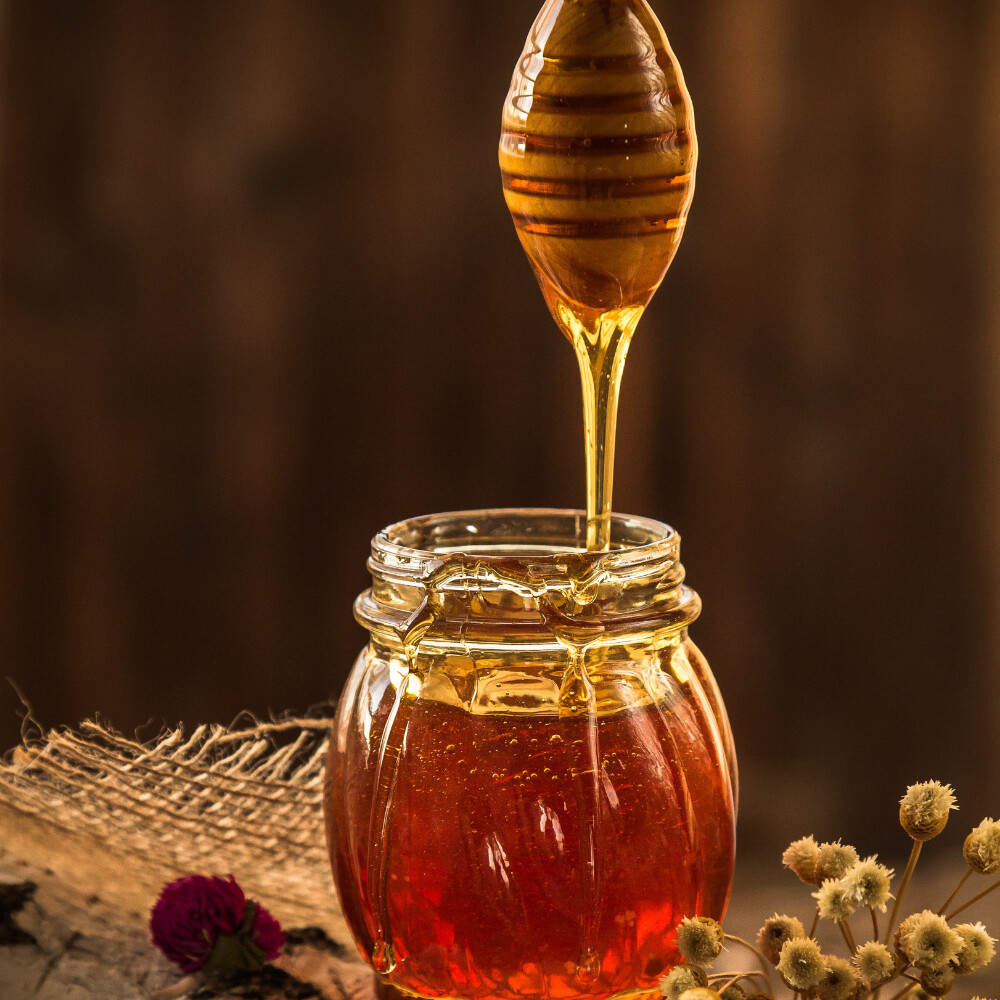
One of the things I learned at the workshop was that honey is one of the most adulterated foods on the market. The majority of honey on the market is not actually honey. I was puzzled by this statement. I had a vague recollection about hearing that commercial honey manufacturers were stripping pollen from honey and thought that was what they were talking about, but no. What they were referring to is that much of the honey available for purchase in retail stores, you know, that substance contained in those cute little bear-shaped bottles, is not 100% honey. It is often colored corn syrup. I was stunned.
I went home and started doing some reading. Sure enough, the recollection I had about the removal of pollen was an odd article that caught the headlines but was essentially meaningless. It had to do with honey with and without pollen and whether one was better than the other (http://www.lb7.uscourts.gov/documents/12-CV-7584.pdf). So, first up, I leaned that bees make honey from the nectar they gather from flowers, not from the pollen, so whether or not honey contains pollen, it is still honey. Good to know.
Next, I looked into the “fake honey” statement. Sure enough, there are lots of articles out there talking about how the honey you buy at the grocery store may not actually be honey. Honey is in the list of top 10 foods that are adulterated on a regular basis. Honey collection requires manual labor. In order to increase profits, manufacturers will add corn, rice or sugar cane syrup to honey to stretch it. Estimates vary but range from 1/3 to 3/4 of all honey purchased in grocery stores is adulterated. Of course, this both surprised me and disappointed me.
As many know, pure honey has lots of health benefits that are clearly not present in corn syrup. So, it’s important to get the real stuff. Although there are several articles that explain in great detail how to test your honey to make sure it’s the real deal, I would simply recommend that you buy honey locally. Do a search of your area to find local beekeepers and buy directly from them. You’ll be supporting a local business and keeping bees flying which helps with our food chain by pollinating crops. Perhaps one day, one of those local beekeepers will be me.
Interested in learning more about earth-friendly options? Join my free group here.
Get my free guide: 4 Ways Being Earth-Friendly Can Change Your Life for the Better HERE.
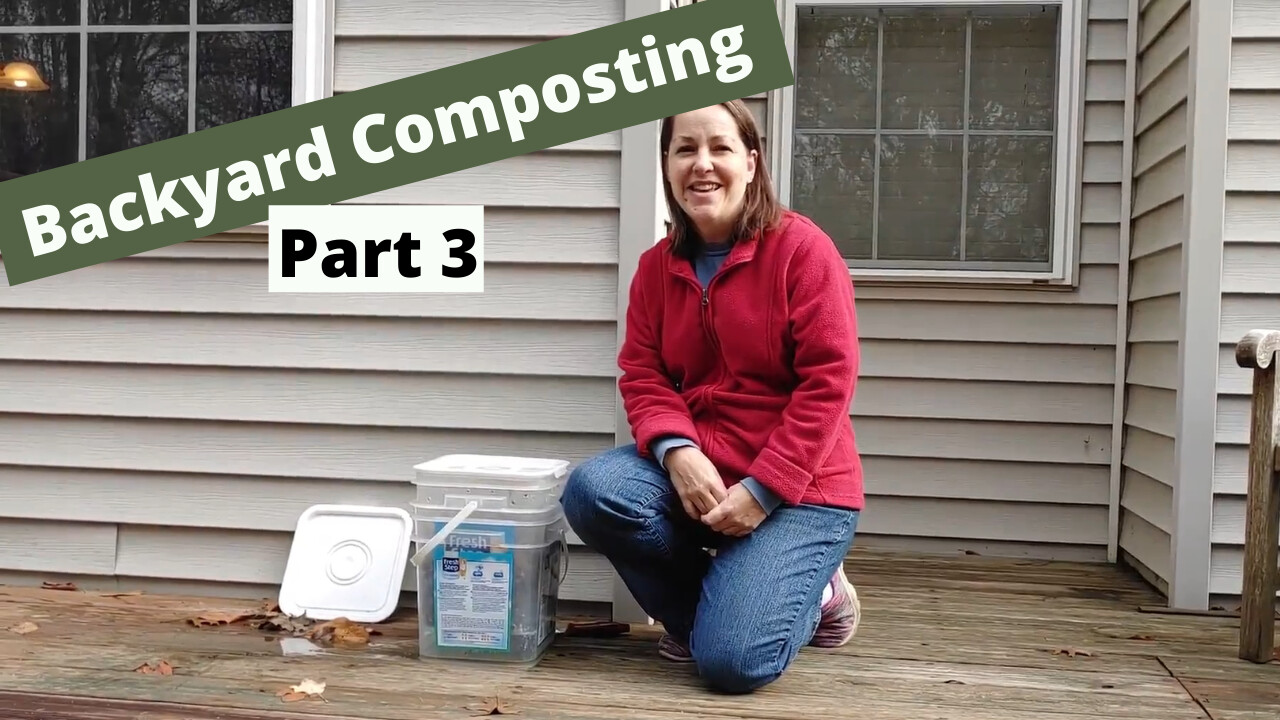
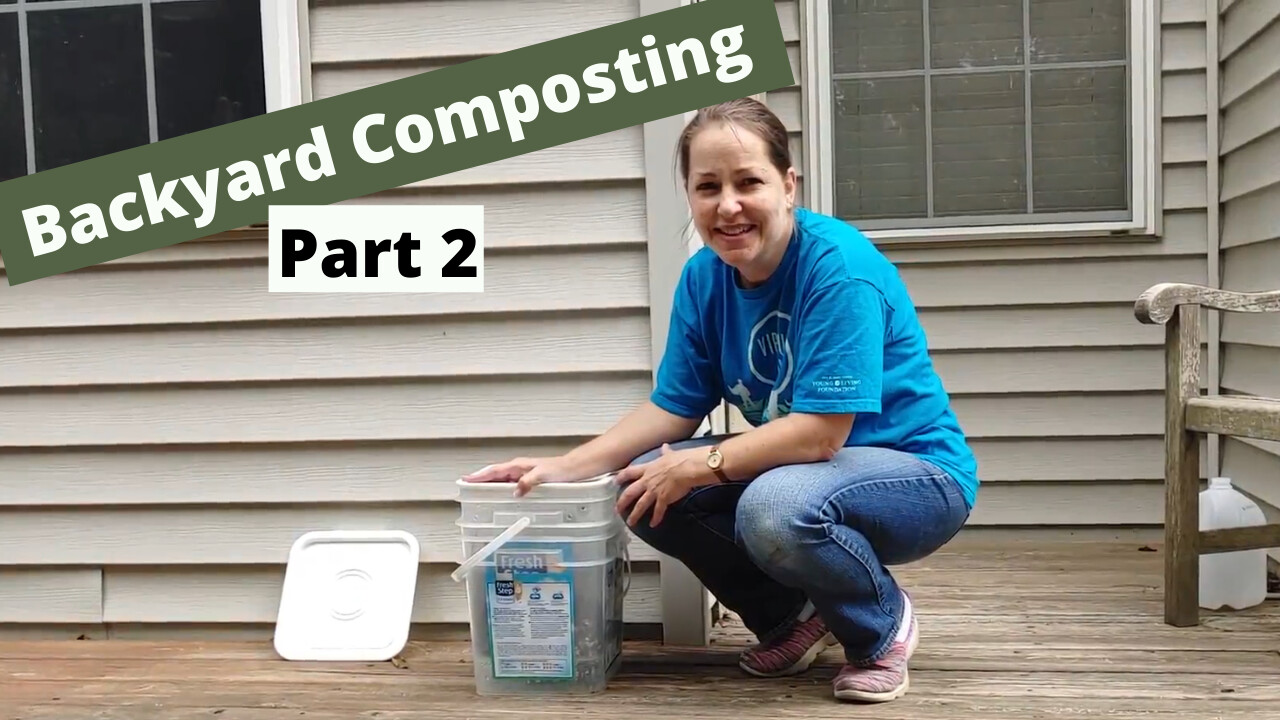
In my previous two posts, I showed how I prepared my two-bucket system from empty cat litter bins I obtained from one of my friends, how I created the initial layers of material, and how I watched it for the first couple of weeks.
After 8 weeks’ time, I observed that the food scraps were nearly completely decomposed and the material appears about ready to be used. Click here to watch the video.
Here are some things I learned along the way:
1. Composting does not have to be difficult.
All of my studying and worrying was worthwhile but ultimately wasted energy. Really, just throw down some food scraps, leaves and paper, and let the earth do its thing. It needs air and it needs moisture, but beyond that, let it be.
2. Your compost bin is very forgiving.
A couple of times when I checked on it, it was too dry, so I added what I thought was an appropriate amount of water. I ended up adding too much…oops. To compensate, I added more brown material and everything got back into balance in about a week. Based on my experience, I think it would be rather difficult to totally screw up your compost bin. Worst case scenario? Dump it out and start over.
3. I can really overthink things.
I think this point leads back to the first 2 points. This really is quite easy. I’m an analyst and a skeptic. I like to read up as much as possible on anything I am trying to do for the first time. This is both good and bad. It means that I don’t typically jump into something without having a clue, but it also means I avoid trying some things if I haven’t spent enough time researching them. Fear of failure anyone? This is a prime example of overthinking things. In the end, I have been successful, and I am confident in moving forward with other composting projects.
My next adventure is going to be building a compost pile in my back yard with the intent to use it to fill and refresh my garden space(s). I’m putting in a couple of raised beds over the winter in preparation for spring planting.
If you'd like to read the previous posts, here are the links.
Adventures in Bucket Compsting - Part 1
Adventures in Bucket Composting - Part 2
Interested in learning more about earth-friendly options? Join my free group here.
Get my free guide: 4 Ways Being Earth-Friendly Can Change Your Life for the Better HERE.
In my previous post, I showed how I prepared my two-bucket system from empty cat litter bins I obtained from one of my friends. Once the initial layers of material were in place, there was not much that I needed to do except keep an eye on it.
Across the next 4 weeks, I checked on my compost routinely – at least twice per week to give it air and mix it up a bit. I used a regular garden trowel to access the material at the bottom of the bucket to bring it to the surface. I tried to make sure to keep the food scraps in the middle of the pile as much as possible, as I had read that’s where they should be.
I also fretted about whether it was too dry or too wet and whether the ratio between browns and greens was right. I added water when it got too dry and added dry materials when it seemed to wet. Not much changed on a day to day basis, but across the weeks, I could see that the food scraps, eggshells and other greens were breaking down slowly.
There were some sprouts that popped up along the way, and I just plucked them out as I saw them. Not being sure what they were coming from, I didn’t consider eating them. I’m happy to indulge in sprouts that are from beans, but the unknown? I’m not that adventurous.
I checked for heat to be generated from my little bucket. Composting in this way should be generating heat, so adding more food scraps and greens when the temperature of the pile seemed to drop helped with this.
Lastly, I added some dried leaves on top of the bin as someone suggested this would help the compost break down better as well as keep down the bugs. I certainly saw a good number of tiny flies in the bin. I will show you what happened in the next post. Stay tuned.
Here's a link to the second video that I did in this series:
Interested in learning more about earth-friendly options? Join my free group here.
Get my free guide: 4 Ways Being Earth-Friendly Can Change Your Life for the Better HERE.

I have collected food scraps and contributed to my county’s curbside food scrap collection program for a number of years, and I’ve also gardened on and off. When I was setting up my garden this year, I wanted to add in some compost to supplement the soil and looked to purchase some from our county’s composting program. Of course, it’s the year of covid, so the facility which normally sells bulk mulch and compost to the public was closed to customers.
Thinking that things would resolve soon, I waited and waited. Finally, it was nearing the end of the growing season, and I was starting to plan for next year with no compost. So, at the end of the summer, I decided to experiment with making my own compost bin.
I watched a ton of videos to get a feel for what I needed to do and once I felt confident in trying it out, I set out to try my hand at creating some of that amazing nutrient rich garden material myself. I decided to try the bucket system as it seemed like the easiest and cheapest method for a newbie.
A lot of the videos I watched suggested going out and buying 2 plastic bins that would fit inside each other, but I didn’t like the thought of purchasing more plastic and wanted to find a different option. I recalled that cat litter often comes in plastic bins, so I put a call out to some friends to see if they had any empty buckets. I have one friend in particular who has multiple cats, and she was able to give me two empty bins with lids, so I was off to a good start.
One thing to know about me is that I am frugal. I don’t like spending money on things I’m not sure will work because if they don’t work, I view it as wasted money. Once I know something will work, I’m happy to spend the money, but initially? I want to invest as little as possible.
Free empty bins…check. Next up, prepping the bins based on what I saw in online videos. The key to bucket composting, I learned from the videos, is to have holes in the bucket for drainage and air. I’m pretty handy with a drill, so I made quick work of this part.
Once the bucket was prepped, I had to figure out the right ratio of “browns” to “greens” to put in my bin. There are lots of opinions out there about the ratio between browns and greens, and I admit I spent quite a bit of time studying this. You see, the greens are the fresh plant material and food scraps that you want to decompose. The greens are high in nitrogen. The browns are materials that are high in carbon like dried leaves, pine needles, twigs and dried paper. Once I was convinced of the correct ratio, I set out to build my bins and deposit my first materials. In parts 2 and 3, you’ll learn that this ratio is not all that critical.
Here’s the first video in my 3 part series that shows you my preparation steps, including drilling holes and what I put in the bin initially.
Interested in learning more about earth-friendly options? Join my free group here.
Get my free guide: 4 Ways Being Earth-Friendly Can Change Your Life for the Better HERE.
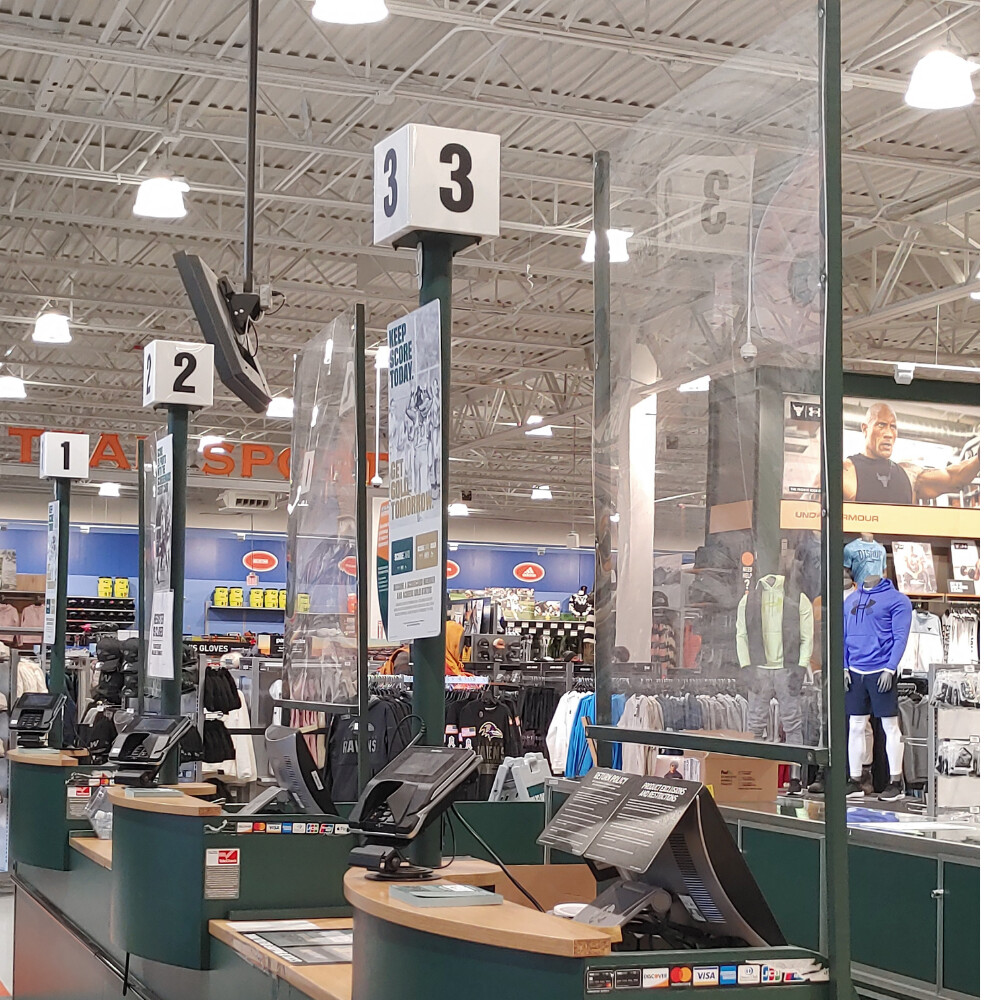
There’s no doubt that the production of plexiglass and other barrier materials has ramped up since the onset of the pandemic. I get it. We need to do all we can to protect people during a pandemic. That said, I do wonder, what are we going to do with all of this plexiglass when the pandemic is over?
Plexiglass and other manmade protective materials are everywhere these days. We understandably rushed to make face shields to protect our first responders and health care professionals and then, as soon as businesses were able to open up again, the CDC recommended the use of barriers to slow the spread of the virus.
According to Forbes magazine, the market for acrylic sheeting is in the $4 billion range. That’s right, billion with a “B”. They’re in every store and restaurant to protect both the cashier and the customer from spreading the virus through droplets from spit, sneezing and coughing. Whether or not this is effective is up for debate and quite irrelevant to the topic at hand.
So, here we are.
Let’s look at plexiglass as a material and learn a few things about it.
What is plexiglass made from?
Plexiglass (also known as acrylic) is a petrochemical thermoplastic created in the early 1930s as an alternative to glass. It is both cheaper to make and lighter in weight than glass which is why it is being used so widely. Plexiglas (spelled with one “s”) is a registered trademark in Germany, but just like usage of the terms Kleenex, Crock-Pot and Ziploc, people often refer to products by a trade name regardless of who makes them.
The term petrochemical tells us that the product is made with oil. Since we know that use of fossil fuels is not sustainable long term, we cannot consider this an environmentally friendly product. The manufacturing process involves highly toxic chemicals that need to be handled and disposed of properly.
Plexiglass has been used for decades in any number of fields from health care and retail to automobile manufacturing. It’s used in eyeglasses and solar panels, greenhouses and car dashboards. It is a great option for times when weight or cost is an issue, and it is superior to glass from a safety standpoint since it is shatter-resistant. The onset of the pandemic has simply amplified its usage across all sectors of life. The abundance of plexiglass everywhere you turn is what gives me pause. What are we going to do with it when this is all over?
Can plexiglass be recycled?
In theory, plexiglass and other acrylic materials can be recycled, however, most curbside programs do not accept it, so we’re in a bit of a pickle. Although it may be possible to recycle it, the number of places that will recycle it are few and far between. So this is its biggest downside. It doesn’t biodegrade and we’re not likely to be able to recycle it. The better alternative overall is to put it to a new use once it is no longer needed as a barrier.
Quite honestly, I think this is a great opportunity for someone to develop a creative post-consumer use for all of this plexiglass as I’m afraid it will all end up in the landfill. Does anyone have any ideas? There will be a plethora of plexiglass, all we need is a brilliant and creative idea or two.
Sources:
Interested in learning more about earth-friendly options? Join my free group here.
Get my free guide: 4 Ways Being Earth-Friendly Can Change Your Life for the Better HERE.

I used to love candles, particularly in the fall. I don’t know what it was, but something about the cooler temperatures made me want to set one out on the kitchen counter and light it up.
Friends, I no longer use scented candles, and I’m about to tell you why.
Read more...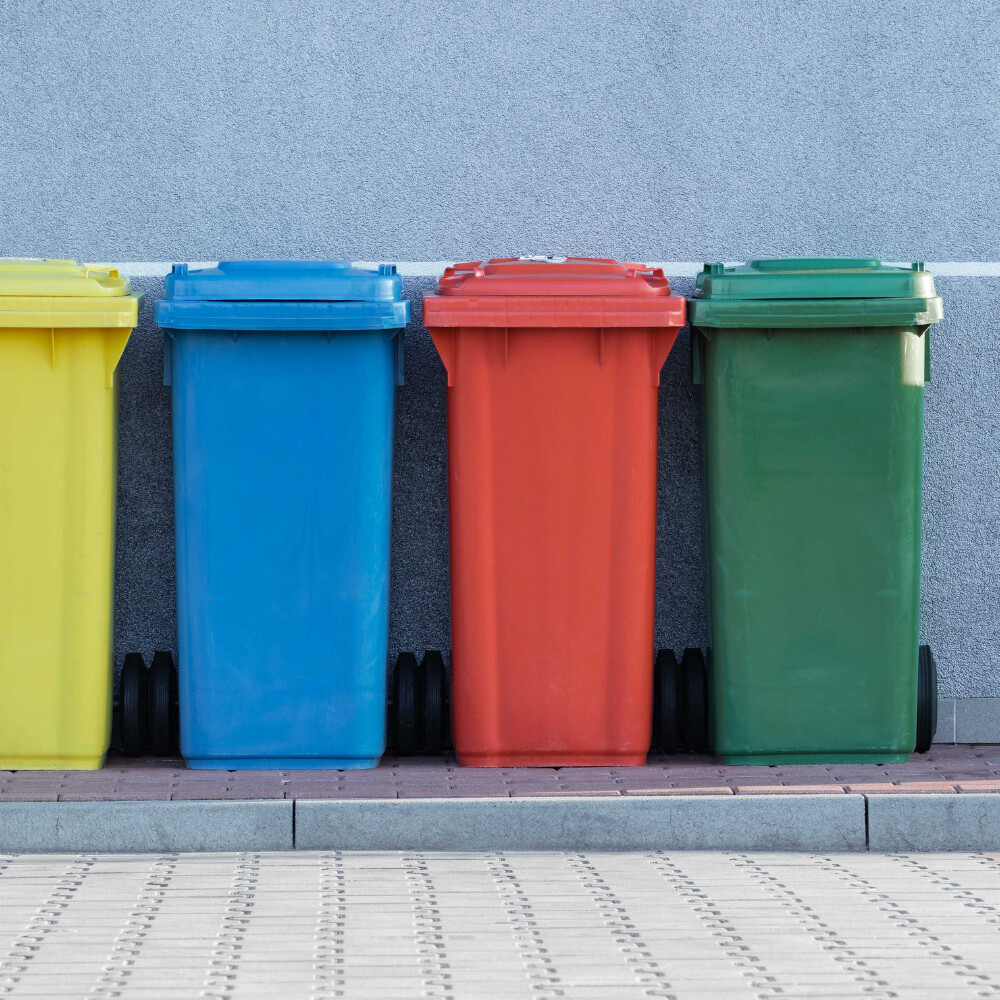
In our area, we are fortunate to have a curbside composting program. Here’s what that looks like: the county provides us with a free green bin into which we place our yard trim and food scraps. We set it out by our curb weekly and the county comes by once a week, year-round to empty it. The food scraps and yard trim are taken to an industrial composting facility. Once the composting process has been completed, the county sells the compost back to residents.
Let’s walk through some of the benefits to a curbside compost program:
1. Your garbage won’t smell as often.
The main component of garbage that smells is food scraps. If you are putting food scraps in your trash, your trash will smell. If you’re putting them in the curbside compost bin, your trash won’t smell. It really is as easy as that.
2. You won’t have as much trash.
Often, people change out their trash bag when the trash starts to smell, regardless of whether the bag is full. Given that it won’t be smelling as much, you won’t be changing out the bag as much. This will save you money on trash bags – another win.
3. Your food scraps will be made into dirt rather than filling up the landfill.
Using your food scraps to make soil is a far better endeavor than filling up the landfill. According to the USDA, nearly 30% of all trash is food scraps and yard waste. Uncontrolled, food scraps in landfills contribute to high amounts of methane gas which is detrimental to the environment.
Here are some tips for making curbside composting work for you and your family.
All food scraps and yard trim must be collected in compostable bags, so no plastic bags for this. You can use paper bags or specially made compostable bags. You can get paper bags from the grocery store, fast food restaurants, and other sources. The compostable bags are made from plant material (usually potatoes or cornstarch) and are available online from numerous sources. You can get my favorites here.
For large amounts of food scraps like from fresh corn, fresh pineapple or melons, you can use a large paper bag or you can spread out sheets of newspaper. Once you’re done, you can close up the bag or wrap the newspaper up like a package and place it in your curbside compost bin.
For smaller amounts of food scraps, consider getting a small container to sit on your counter or under your kitchen sink. The container doesn’t have to cost you anything. I have several plastic pails that were obtained from ice cream or popcorn. As long as the bucket has a lid, it will work. Here’s where I use those compostable bags. I put one in the bottom of the bucket and then add a layer of shredded paper from our home shredder. The shredded paper helps absorb some of the moisture in the food scraps so the bags won’t leak as easily. Once your bag is full, tie a knot in the top and deposit in your curbside compost bin.
For yard trim, you can use a paper grocery bag for small amounts (weeding and deadheading) or you can purchase larger bags for use in the fall for leaf collection.
Around here, the mantra is “feed the bin”, and I encourage you to do so. Keeping food scraps out of the landfill saves space and reduces emissions. Plus, it allows the food scraps to go back to the dirt from which they came, and that’s completing the full life cycle of plants.
Interested in learning more about earth-friendly options? Join my free group here.
Get my free guide: 4 Ways Being Earth-Friendly Can Change Your Life for the Better HERE.
*As an Affiliate for Net Zero, I earn from qualifying purchases.
Dryer sheets might not be the healthiest or most earth-friendly product for any of us to be using. I grew up using them, so I get it. It was something I was taught to do. It was part of the household laundry routine. I knew they would help with static and make my clothes smell good, so I continued using them even once I left home. But along my journey for living a more natural and earth-friendly life, I found them both wasteful and potentially harmful for me and my family. So, let’s take a look at what these are made of and find a solution to replace them.
First of all, from an environmental perspective, these are single-use, disposable products made from synthetic materials (i.e., plastic). I have heard there are some that are made from a recyclable material, but let’s hold that thought.
Second of all, from a non-toxic perspective, these just don’t make the grade. They work by transferring their coating onto your clothes to make the clothes feel soft. You probably know the difference in the feel between a new dryer sheet and a used one. That stickiness on the new one is the coating that’s going to be transferred to your clothes. Added to it is a synthetic blend of chemicals to create a certain scent (fragrance). Fragrance is a catch all term used by manufacturers to label any chemical added to their product that smells. A company is not required to disclose the chemicals used in their product because their fragrance recipe is considered a trade secret.
Try looking on your box of dryer sheets to see what the ingredients are. I did. They’re not listed. Why? Because companies don’t have to list them.
So, here’s what we know for sure: the product is made of a synthetic material with added fragrance. Those two points alone are enough for me to give them a pass.
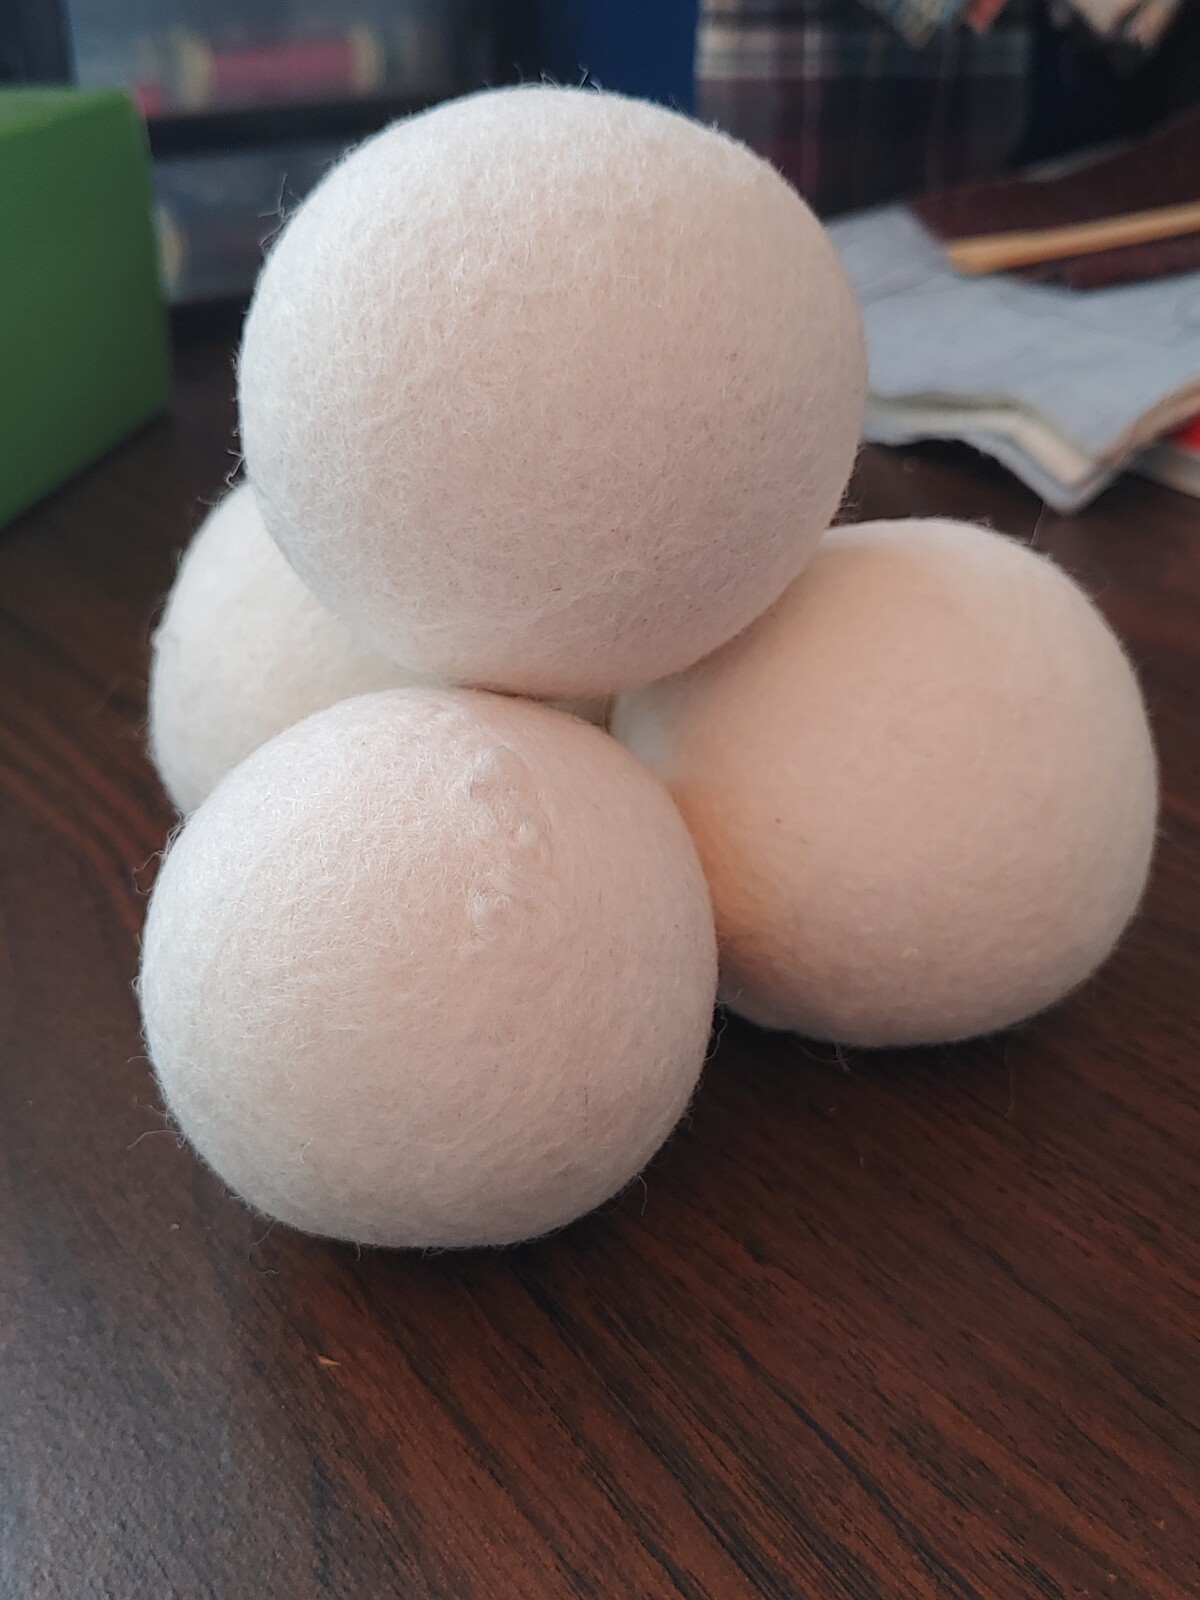
What can you do instead? Purchase yourself a set of wool dryer balls. They’re available all over the place. A set of 4 will serve you well for at least a year (or a lot more) and only cost you less than $10. I use 2 per load, so that gives you a couple to spare in case one gets stuck in the previous load.
There are a few tricks to switching over to them. First off, drop the heat setting on your dryer down a notch. Second, drop down the time on the drying cycle. These two steps in combination will reduce the amount of time your clothes rub together AFTER they are dry which is how some of the static builds up. If you’re looking to add in something to make your clothes softer, adding a bit of white vinegar to the fabric softener compartment of your washer can do the trick.
Missing the scent that you got from the dryer sheets? I got you, friend. You have several options:
- You can add a couple of drops of essential oils onto the dryer balls that will carry you through.
- You can take a damp washcloth, add essential oils, and toss it in the dryer with the clothes.
- You can add essential oils into your detergent in the washer. Yep, it works.
At this point, you’re going to be saving money on purchasing those single-use dryer sheets and perhaps improving your health overall by reducing your exposure to fragrance, which in my mind is a good thing.
Interested in learning more about earth-friendly options? Join my free group here.
Get my free guide: 4 Ways Being Earth-Friendly Can Change Your Life for the Better HERE.
*As an Amazon Associate I earn from qualifying purchases.

Why do we need to have a bag for a single or a small number of items? One of the easiest things you can do to reduce single-use plastic waste is to refuse a bag. Simply say, “no bag, please” or “I don’t need a bag.”
Read more...